React Native (一):基础
React Native (二):StatusBar 、 NavigationBar 与 TabBar
React Native (三):自定义视图
React Native (四):加载新闻列表
React Native (五):上下拉刷新加载
React Native (六):加载所有分类与详情页
项目地址
React Native App 的视图结构
首先把 setup.js 的 Root 以及 布局 的代码改一下:
1
2
3
4
5
6
7
8
9
10
11
12
13
14
15
16
17
18
| class Root extends React.Component {
render() {
return (
<View style={styles.container}>
</View>
);
}
}
const styles = StyleSheet.create({
container: {
flex: 1,
backgroundColor: 'white',
},
});
|
React Native 的所有界面都是在一个主视图上,这里的这个 <View> 跟 iOS 中的 Window 是同样的,这里跟 Android 不太一样。
当然运行在 iOS 和 Android 中还是以 ViewController 和 Activity 展示的。
StatusBar
iOS 和 Android 的 StatusBar 是差不多的,都是顶部那高度 20 的部分,用来显示信号、电量等系统的信息。
在 setup.js 中加入 StatusBar:
1
2
3
4
5
6
7
8
9
10
11
12
13
14
15
16
17
18
19
20
| import {
StyleSheet,
Text,
View,
StatusBar
} from 'react-native';
class Root extends React.Component {
render() {
return (
<View style={styles.container}>
<StatusBar
barStyle={'light-content'}
backgroundColor={'#000000'}
/>
</View>
);
}
}
|
StatusBar 的配置可以看这里,注意有些属性只针对特定平台。
这样可以设置整个 App 中 StatusBar 的样式,如果有某个页面 A 的 StatusBar 需要特殊处理,那么就在 A 页面加入 StatusBar 进行设置。
Navigator
我们需要用 Navigator 来让整个 App 可以在页面之间跳转。
Navigator 和 iOS 的一样,都是对页面进行 push 和 pop ,跟 Android 的 NavigationView 不是一个东西。
官方文档在这里
现在在 App 文件夹内创建一个新的文件 App.js :
1
2
3
4
5
6
7
8
9
10
11
12
13
14
15
16
17
18
19
20
21
22
23
24
25
26
27
28
29
30
31
32
33
34
| 'use strict';
import React from 'react'
import {
StyleSheet,
View,
Text
} from 'react-native';
export default class App extends React.Component {
render() {
return (
<View style={styles.view}>
<Text>main</Text>
</View>
)
}
}
const styles = StyleSheet.create({
view: {
flex: 1,
backgroundColor: 'white',
alignItems: 'center',
justifyContent: 'center'
},
});
|
然后在 setup 内 StatusBar 下面加入 Navigator :
1
2
3
4
5
6
7
8
9
10
11
12
13
14
15
16
17
18
19
20
21
22
23
24
25
| import App from './App'
<Navigator
initialRoute={{ component: App }}
style={{flex:1}}
renderScene={(route, navigator) => {
BackAndroid.addEventListener('hardwareBackPress', function() {
if(navigator == null){
return false;
}
if(navigator.getCurrentRoutes().length === 1){
return false;
}
navigator.pop();
return true;
});
let Component = route.component;
return <Component {...route.params} navigator={navigator}/>
}}
/>
|
其中 initialRoute 设置了 component ,是最底层的第一个页面。
然后 renderScene 控制 push 的时候做哪些操作,这里的 BackAndroid.addEventListener 是监听了 Android 的物理返回按键。
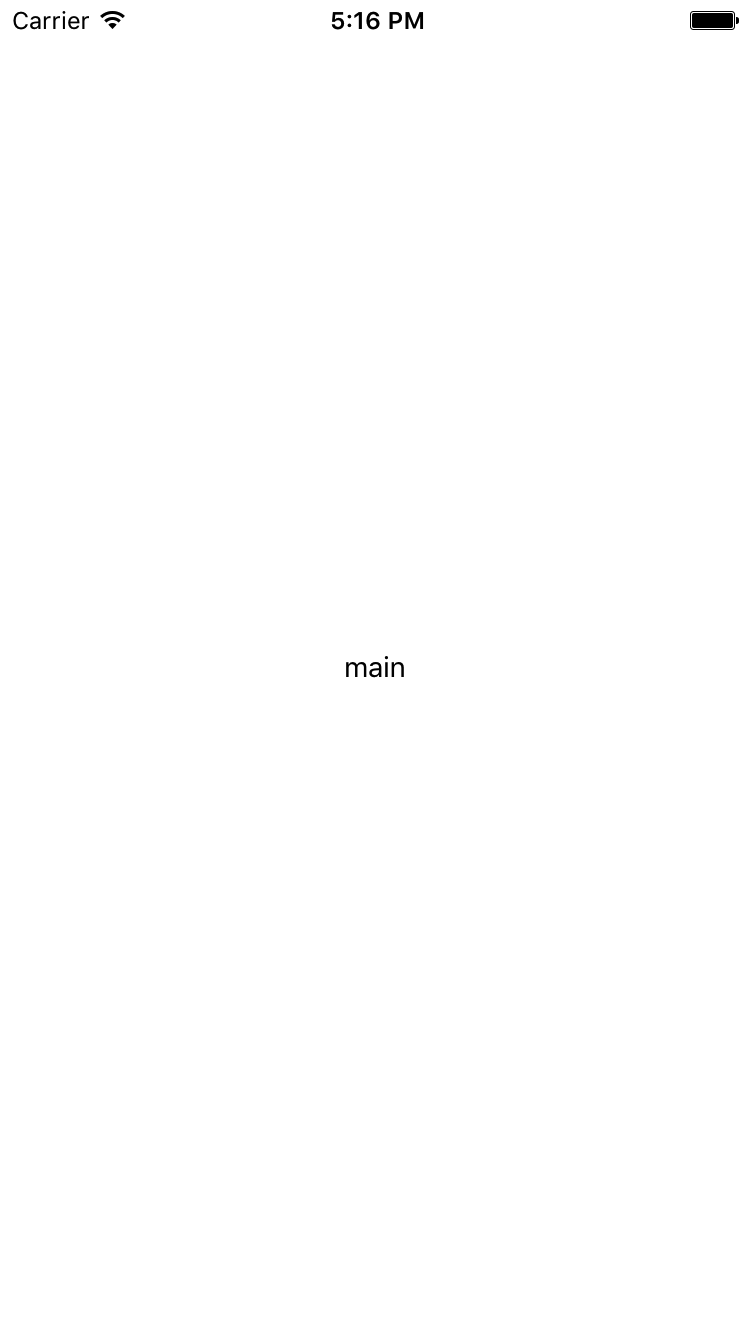
现在运行可以看见页面中间有个 main :

你可能会发现为什么没 NavigationBar 呢,我们后面再加。
tab-navigator
官方并没有 TabBar ,我们使用一个第三方 react-native-tab-navigator
在项目根目录执行命令
1
| npm install react-native-tab-navigator --save
|
安装完成后在 App.js 加入 TabNavigator:
1
2
3
4
5
6
7
8
9
10
11
12
13
14
15
16
17
18
19
20
21
22
23
24
25
26
27
28
29
30
31
32
33
34
35
36
37
38
39
40
41
42
43
44
45
46
47
|
const home_key = 'home'
const satin_key = 'satin'
const setting_key = 'setting'


import Home from './Home/Home'
import Satin from './Satin/Satin'
import Setting from './Setting/Setting'


<TabNavigator>
	<TabNavigator.Item
	    selected={this.state.selectedTab === home_key}
	    title="首页"
	    titleStyle={styles.tabText}
	    selectedTitleStyle={styles.selectedTabText}
	    renderIcon={() => <Image style={styles.icon} source={require("./Images/root/home_unselect.png")} />}
	    renderSelectedIcon={() => <Image style={styles.icon} source={require("./Images/root/home_select.png")} />}
	    onPress={() => this.setState({ selectedTab: home_key })}>

	    <Home navigator={this.props.navigator}/>
	</TabNavigator.Item>
	<TabNavigator.Item
	    selected={this.state.selectedTab === satin_key}
	    title="段子"
	    titleStyle={styles.tabText}
	    selectedTitleStyle={styles.selectedTabText}
	    renderIcon={() => <Image style={styles.icon} source={require("./Images/root/activity_unselect.png")} />}
	    renderSelectedIcon={() => <Image style={styles.icon} source={require("./Images/root/activity_select.png")} />}
	    onPress={() => this.setState({ selectedTab: satin_key })}>

	    <Satin navigator={this.props.navigator}/>
	</TabNavigator.Item>
	<TabNavigator.Item
	    selected={this.state.selectedTab === setting_key}
	    title="我的"
	    titleStyle={styles.tabText}
	    selectedTitleStyle={styles.selectedTabText}
	    renderIcon={() => <Image style={styles.icon} source={require("./Images/root/my_unselect.png")} />}
	    renderSelectedIcon={() => <Image style={styles.icon} source={require("./Images/root/my_select.png")} />}
	    onPress={() => this.setState({ selectedTab: setting_key })}>

	    <Setting navigator={this.props.navigator}/>
	</TabNavigator.Item>
</TabNavigator>
|
配置也比较易懂。
另外创建 3 个文件 Home.js 、 Satin.js 和 Setting.js
1
2
3
4
5
6
7
8
9
10
11
12
13
14
15
16
17
18
19
20
21
22
23
24
25
| import React from 'react'
import {
View,
StyleSheet
} from 'react-native'
export default class Satin extends React.Component {
render() {
return (
<View style={styles.view}>
</View>
)
}
}
const styles = StyleSheet.create({
view: {
flex:1,
backgroundColor: 'orange'
}
})
|
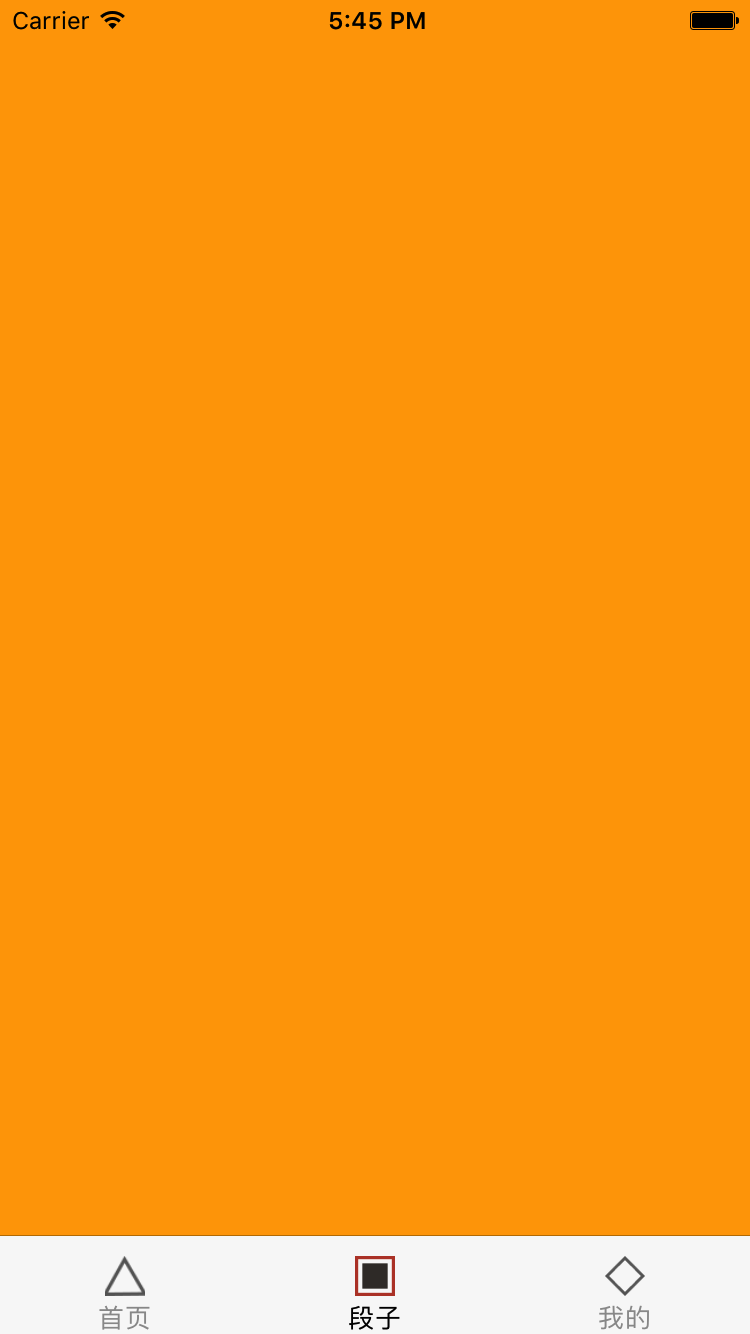
可以给每个设置不同的颜色,这样点击界面切换也很明显。

具体的代码可以看 项目
NavigationBar
同意官方也没有提供 NavigationBar,我们需要自定义一个。
然后在 Home.js 、 Satin.js 和 Setting.js 加入
1
2
3
4
5
6
7
8
9
10
11
12
13
14
15
16
17
18
19
20
21
22
23
24
25
26
27
28
29
30
31
32
33
|
import React from 'react'

import {
    View,
    StyleSheet
} from 'react-native'

import NavigationBar from '../Custom/NavBarCommon'


export default class Home extends React.Component {
    render() {
        return (
            <View style={styles.view}>
                <NavigationBar
                    title="首页"
                    unLeftImage={true}
                />

            </View>
        )
    }
}

const styles = StyleSheet.create({
    view: {
        flex:1,
        backgroundColor: 'white'
    }
})
|

项目地址


